Non Destructive Testing Services
We help you ensure the reliability and safety of your products, equipment or plant assets with our world-class services in non-destructive testing (NDT), materials testing and welding quality. We understand the processes involved throughout the entire product cycle – from design and manufacture to operation and maintenance – and the frequent need for rapid turnaround times. Our Total Quality Assurance services can support production processes, quality control, and regulatory compliance as well as new construction, pipelines, plant maintenance and scheduled shutdown inspection.
Our vast expertise and knowledge in NDT and materials testing means we can select the right techniques and procedures to detect defects and irregularities in your products, equipment, production facilities or plant assets and provide you with necessary data to assist you in making informed decisions. TOTAL VISION can help you avoid the potential for catastrophic consequences and financial losses with early detection of problems before they cause damage, operating inefficiencies or in-service failure.
In addition to our non-destructive testing and materials testing, we provide a complete welding support service to help you with your welding requirements, comply with international and national codes and standards, and to enter new markets with our welder training and welder qualification.
Ultrasonic testing
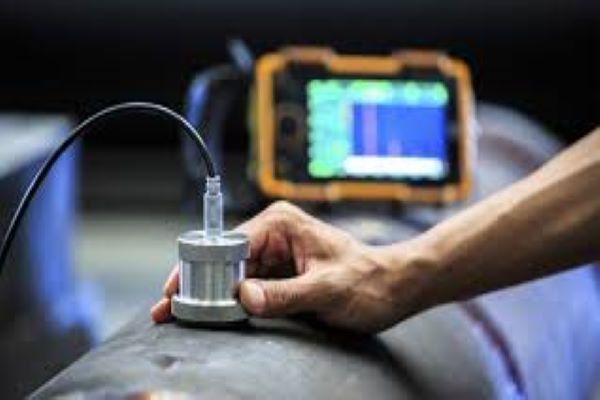
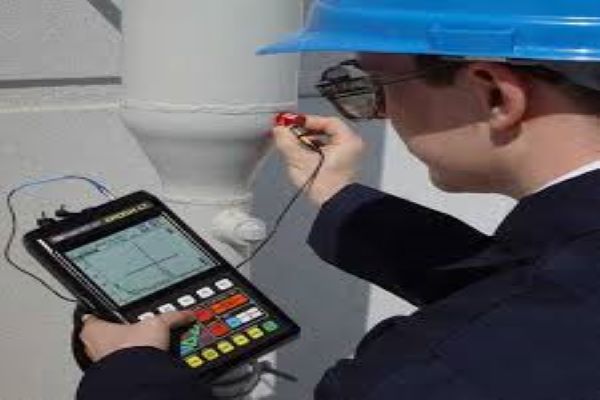
Ultrasonic testing is often performed on steel and other metals and alloys, though it can also be used on concrete, wood and composites, albeit with less resolution. It is a form of non-destructive testing used in many industries including aerospace, automotive and other transportation sectors. Ultrasonic Testing (UT) uses high frequency sound energy to conduct examinations and make measurements. Ultrasonic inspection can be used for flaw detection/evaluation, dimensional measurements, material characterization, and more.


Phased Array Inspection of TOFD - PAUT
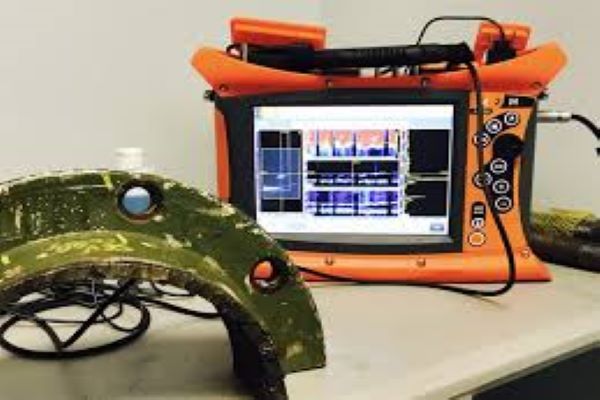
PAUT Inspection (Phased Array Ultrasonic Testing) is one of the advanced Ultrasonic testing methods which are famous for its higher probability of detection and precise measurement capability. PAUT Inspection can be used as a direct replacement for radiography testing for piping. This is an advanced method of ultrasonic testing that has applications in medical imaging and industrial non-destructive testing.
TOTAL VISION use PAUT Inspection for corrosion mapping to estimate thickness at finite points in pressure vessels, pipes, tanks etc. This ultrasonic testing method can also perform scans on complex geometries including painted cylindrical, trapezoidal fuel transport tankers. We also provide butt welds in pipes and pressure vessels and large structures using PAUT.
PAUT Inspection / Phased Array Ultrasonic Testing reduces inspection time by simultaneously collecting multiple angle ultrasonic data in a single pass scan from either side of the weld. By ensuring accurate scan plans and specifically designed techniques, construction defects are readily detected, sized, and sentenced accordingly.
Use of PAUT Inspection (Phased Array Ultrasonic Testing)
The Major use of Phased Array Ultrasonic Testing or PAUT Inspection is to evaluate the entire volume of a weld for the detection of potentially detrimental discontinuities in a weld in accordance with written procedures, guidelines, standards and codes. It covers the materials and components, design, fabrication, assembly, erection, examination, inspection and testing of piping.
Advantages of PAUT Inspection (Phased Array Ultrasonic Testing)
- PAUT Inspection gives more information about a defect’s characteristics
- Phased Array Ultrasonic Testing is Ease of set-up
- It is easy to interpret
- Compatible software that can export measurements into spread sheets.
- Rapid inspections with digital recording of data
- Digitally-encoded scanning for accurate sizing
- Highly sensitive to fusion face flaws
Penetrant Testing
Dye penetrant inspection, also called liquid penetrate inspection or penetrant testing, is a widely applied and low-cost inspection method used to check surface-breaking defects in all non-porous materials.
Hardness Testing
A test to determine the resistance a material exhibits to permanent deformation by penetration of another harder material. ‘ However, hardness is not a fundamental property of a material.
Visual Testing
Visual Testing is the oldest and most basic method of inspection. Visual inspection can be used for internal and external surface Inspection of a variety of equipment types, including storage tanks, pressure vessels, piping, and other equipment.
Radio graphic Testing
Radiographic Testing (RT) is a nondestructive examination (NDE) technique that involves the use of either x-rays or gamma rays to view the internal structure of a component. In the petrochemical industry, RT is often used to inspect machinery, such as pressure vessel and valves, to detect for flaws. RT is also used to inspect weld repairs.
Compared to other NDE techniques, radiography has several advantages. It is highly reproducible, can be used on a variety of materials, and the data gathered can be stored for later analysis. Radiography is an effective tool that requires very little surface preparation. Moreover, many radiographic systems are portable, which allows for use in the field and at elevated positions.
Post Weld Heat Treatment (PWHT)
Welding is an essential part of operating and maintaining assets in the petroleum (upstream, midstream, downstream) and chemical processing industries. While it has many useful applications, the welding process can inadvertently weaken equipment by imparting residual stresses into a material, leading to reduced material properties.
In order to ensure the material strength of a part is retained after welding, a process known as Post Weld Heat Treatment (PWHT) is regularly performed. PWHT can be used to reduce residual stresses, as a method of hardness control, or even to enhance material strength.
If PWHT is performed incorrectly, or neglected altogether, residual stresses can combine with load stresses to exceed a material’s design limitations. This can lead to weld failures, higher cracking potential, and increased susceptibility to brittle fracture.
Magnetic Particle Testing
The particles that are used for magnetic particle inspection are a key ingredient as they form the indications that alert the inspector to defects. Particles start out as tiny milled (a machining process) pieces of iron or iron oxide. A pigment (somewhat like paint) is bonded to their surfaces to give the particles color. The metal used for the particles has high magnetic permeability and low retentivity. High magnetic permeability is important because it makes the particles attract easily to small magnetic leakage fields from discontinuities, such as flaws. Low retentivity is important because the particles themselves never become strongly magnetized so they do not stick to each other or the surface of the part. Particles are available in a dry mix or a wet solution. Either this:The first step in a magnetic particle inspection is to magnetize the component that is to be inspected.
If any defects on or near the surface are present, the defects will create a leakage field. After the component has been magnetized, iron particles, either in a dry or wet suspended form, are applied to the surface of the magnetized part. The particles will be attracted and cluster at the flux leakage fields, thus forming a visible indication that the inspector can detect. Or this: The part is magnetized. Finely milled iron particles coated with a dye pigment are then applied to the specimen. These particles are attracted to magnetic flux leakage fields and will cluster to form an indication directly over the discontinuity. This indication can be visually detected under proper lighting conditions. In theory, magnetic particle inspection (MPI) is a relatively simple concept.
Positive Metal Identification
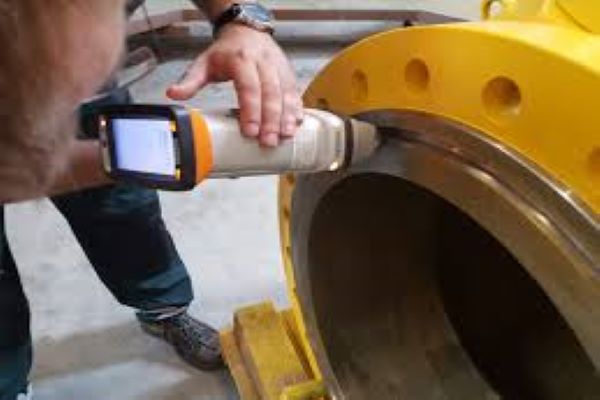
Positive Metal Identification (PMI) is the analysis of a metallic alloy to establish composition by reading the quantities by percentage of its constituent elements. Typical methods for PMI include X-ray fluorescence (XRF) and optical emission spectrometry (OES).


